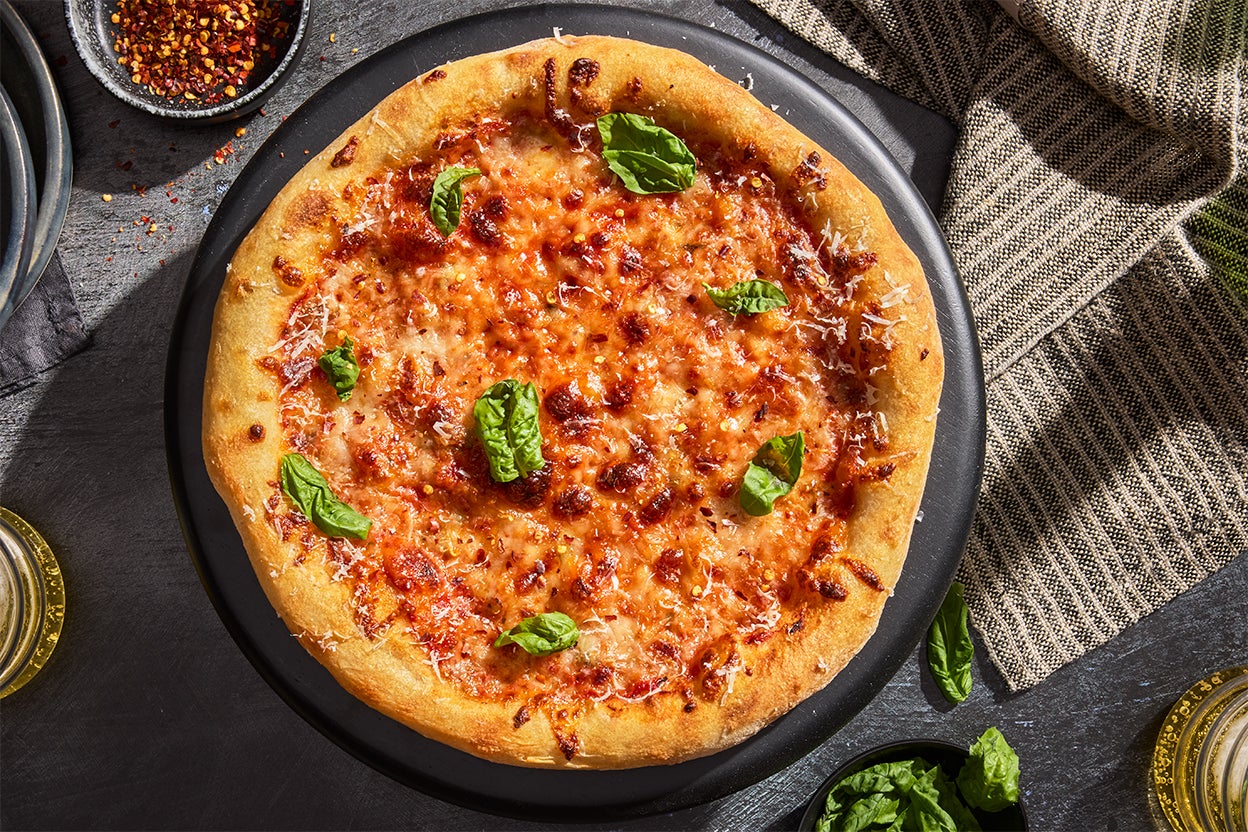
Right, so first I'm going to give my sauces for how I make pizza. If you lack any of the special tools I'm going to list here, I'd suggest checking out the video proper for how he suggests doing it. I crib heavily from both sources so if you run into issues or have questions, check them out for more advice or guidance. I can try to help too.
Heres the crust recipe I use instead of his recipe.
This recipe from baker and author Bryan Ford leans into long fermentation, a sprinkling of whole grain flour, and our tender '00' Pizza Flour to produce a sourdough pizza crust that is at once tangy, wheat-y, and crisp. After the initial mix, the dough is chilled for up to two days. Not only...

www.kingarthurflour.com
Heres the specialty tools you're going to need to do this:
A cast iron skillet-as the video will point out this isn't essential, but its an incredibly useful tool and you can get them for a good price.
A stand mixer-you don't need a stand mixer to do this, its just going to take a lot more muscle power to get it done.
A cooling rack-essential for baking, wire racks you allow things to cool on. Things like...pizza.
A food processor or blender-you're going to need this for making the pizza sauce. I highly, highly, HIGHLY suggest you do this. Seriously homemade sauce is great.
A sourdough starter-yeah this ones basically required for my crust. If you don't have this, you can use King arthurs guide to making one and do yourself a big favor for future or use the method in the video since he doesn't make a sourdough crust.
A pizza stone-this is an invaluable tool for cooking pizza
A glass bowl-metal etc isn't the best thing to use here, so make sure you're using a glass bowl. Glass measuring bowls are useful because they can give an easier idea of the rising of your dough
I want to remind you that if you lack any of the tools I mention, just think it through-in addition to my sources, I find part of cooking is figuring out how to use the ingredients and tools you have rather than the ideal ones.
INGREDIENTS:
DOUGH (Sourdough method)
- 1 cup (227g) sourdough starter, unfed/discard
- 1/2 cup (113g) lukewarm water
- 2 1/2 cups (298g) Unbleached Bread Flour
- 1 teaspoon salt
- 1/2 teaspoon instant or active dry yeast
TOMATO SAUCE
- 1 28-ounce can of peeled San Marzano tomatoes
- 2-3 cloves garlic
- Dried oregano and basil
- Red pepper flakes
- Kosher salt
- Freshly ground pepper
- Olive oil (optional)
OTHER STUFF
- A block of mozzarella cheese
- Garlic salt
- Lots of olive oil
- Toppings of your choice (try to get higher quality ones for a better pizza)
So lets start with the crust. As a professional microboi I am of course enamored with using my own microbial stock of buggins. To that end I use a sourdough starter for my cooking.
Start by taking your sourdough starter out of the fridge and letting it sit until its doubled in "volume"-you want these little guys active to help the dough rise later. You'll be able to tell this is happening if you see "bubbles" forming on the side of the jar.
Now, add in 1/2 a cup to 3/4 of a cup of water to the bowl of your stand mixer-enough for everything to come together without dry clumps in the bowl during the mix. This is one of the parts of your recipe you'll have to feel out for yourself.
To this water, you can add 1/2 teaspoon of instant yeast, and 1 teaspoon of KOSHER salt. Yes it matters.
Now, grab your jar of sourdough starter and mix it together with a spoon before collecting what you need. Grab a cup of this and and it to the bowl, then immediately feed the starter with about a cup of all purpose unbleached flour and 1/2 cup or more of water, mix it up till it is cohesive and then set it aside-you can fridge it at this point but if you let the yeast/bacteria repopulate the mix it'll rise faster even after storage in the fridge next time. If you do a lot of baking with your starter or plan to, this is a good method as long as you don't leave it too long as it WILL force its way out of the jar. Learn from my mistakes.
Now, add 2 and 1/2 cups of unbleached bread flour-you can use all purpose for this but I tend to find that the bread flour makes a better, stronger dough.
Attach your breadhook and allow the stand mixer to combine/knead your dough till it forms a cohesive dough ball that pulls away from the sides. It shouldn't be that sticky or moist, and should be easy to handle. Grease a large bowl (this things going to get larger over time than you might anticipate if this is your first time) with olive oil by pouring some in, wiping it all down, and drop your doughball in. Cover with saran wrap.
Now at this point, you have two options-you can put this in the fridge and let it cold ferment for up to 3 days, which can change how the pizza dough bakes to some degree and then do the next step, or you can just go right to the next step.
Take your bowl, and put it in the oven. If you have a "proofing" setting you can use this but if not, just turn the oven light on. I've seen some guides suggest cracking the door open to make sure it doesn't get too hot but my yeast never seem to mind the increased temp. Learn what your starter likes and go from there.
Let this sit for 2-4 hours, till the dough has puffed up and increased in volume. Part of baking is waiting, so make sure you're doing this in advance of when you want dinner and not at a stupid time that results in you cooking your pizza at 10 or 11 on a work night. Learn. From. My. Mistakes.
Now, once the dough has puffed up some take it out of the oven. Your pizza stone should be in place-turn your oven to 550 F-or as hot as you can get it basically. Let the oven sit at that temp for 1 hour. During this time, take your doughball and divide it into two.
Get your cast iron skillet, and pour olive oil into the bottom. Take your first doughball, and push it to the edges. Don't worry-it won't stay at the edges but after an hour sitting out it will slacken and push to the sides more easily. I would suggest rubbing olive oil onto the top as well for a better browning of the crust. Put this on a plate, add more olive oil to the pan and spread out the second doughball but leave it sit.
Cover both with saran wrap and leave until ready.
Now, grab your block of mozzarella and throw it in the freezer-30 minutes to 1 hour will suffice for it to harden up enough for easier shredding. Its important to use a block because as the video notes, pre-shredded cheese is covered in potato starch and won't cook nearly as well.
Now make your pizza sauce. Use San Marazono peeled tomatos from a 28 ounce can-yes the type is important, they have a particular taste to them. Pour these into your food processor, and then add 2-3 cloves of garlic/garlic powder, dried oregano/basil, red pepper flakes, kosher salt, and finely ground pepper. Theres no specific amounts to add here for everything but the cloves, just sprinkle as much as you feel looks/tastes right and adjust accordingly as you go on.
Pulse the mix a few times, then pour in a few glugs of olive oil, and after mix until things look uniform and not too chunky. Overmixing might make your sauce oranger than you might normally expect but this doesn't impact flavor at all.
Pour some of this in a bowl-depending on how much sauce you put on your pizza, make sure you have enough for two. The rest can be simmered on the stovetop in a pot for around 30 minutes, tossed in a jar, and fridged for a few days-I suggest making another dough ball to let it cold ferment same day, but you can wait a bit. Just keep an eye out for mold or off smells if you let it sit too long-if you see or smell that, toss it, its already ruined.
By this point, your oven should be about done. Unwrap the cast iron pizza dough, and press it to the edges. It should stay a lot better, and now you can add garlic salt to the crust. Add your pizza sauce and spread with a spoon, cover with a light layer of mozzarella cheese retrieved from the freezer and grated, and add your toppings. You can also drizzle olive oil on top for a little extra flavor and cooking.
Toss the cast iron into the oven on top of the pizza stone for 10 minutes-add or subtract time as needed for future bakes. Take out when the pizza looks done, and BE CAREFUL-cast iron heats up really well which means its incredibly hot. Use a spatula to remove the pizza, and put it on your cooling rack.
Pour in more olive oil, and add the second dough-push it to the edges but BE CAREFUL- the skillet and oil will be very hot so don't burn yourself here if its not perfect. Top the pizza same as before, and throw it in the oven for LESS TIME than the original-remember the cast iron is hot so it'll cook the pizza faster. Keep an eye on it to avoid an overly crispy pizza.
Take this out, move the first pizza onto a cutting board and the second to the cooling rack. Slice it when its cooled enough to remain cohesive after cutting, douse it in sriracha sauce and enjoy the fruits of your labor. If it doesn't taste as good as you were hoping, don't give up-just try again but adjust conditions. Part of baking/cooking is making mistakes so just try again tiil you get it right.


/GettyImages-594511899-5845f4e73df78c02304bf13a.jpg)
 Your.
Your.